So this weekend, I installed the workstation in the observatory.

If you recall from my last post, I wanted to change from 2 computers in the observatory to a single workstation that controls everything. Using 2 was just annoying with remote desktop etc.
The previous post talked about the workstation build, which I’ve named Kronos – after the Klingon homeworld, this post is all about the install into the observatory itself.
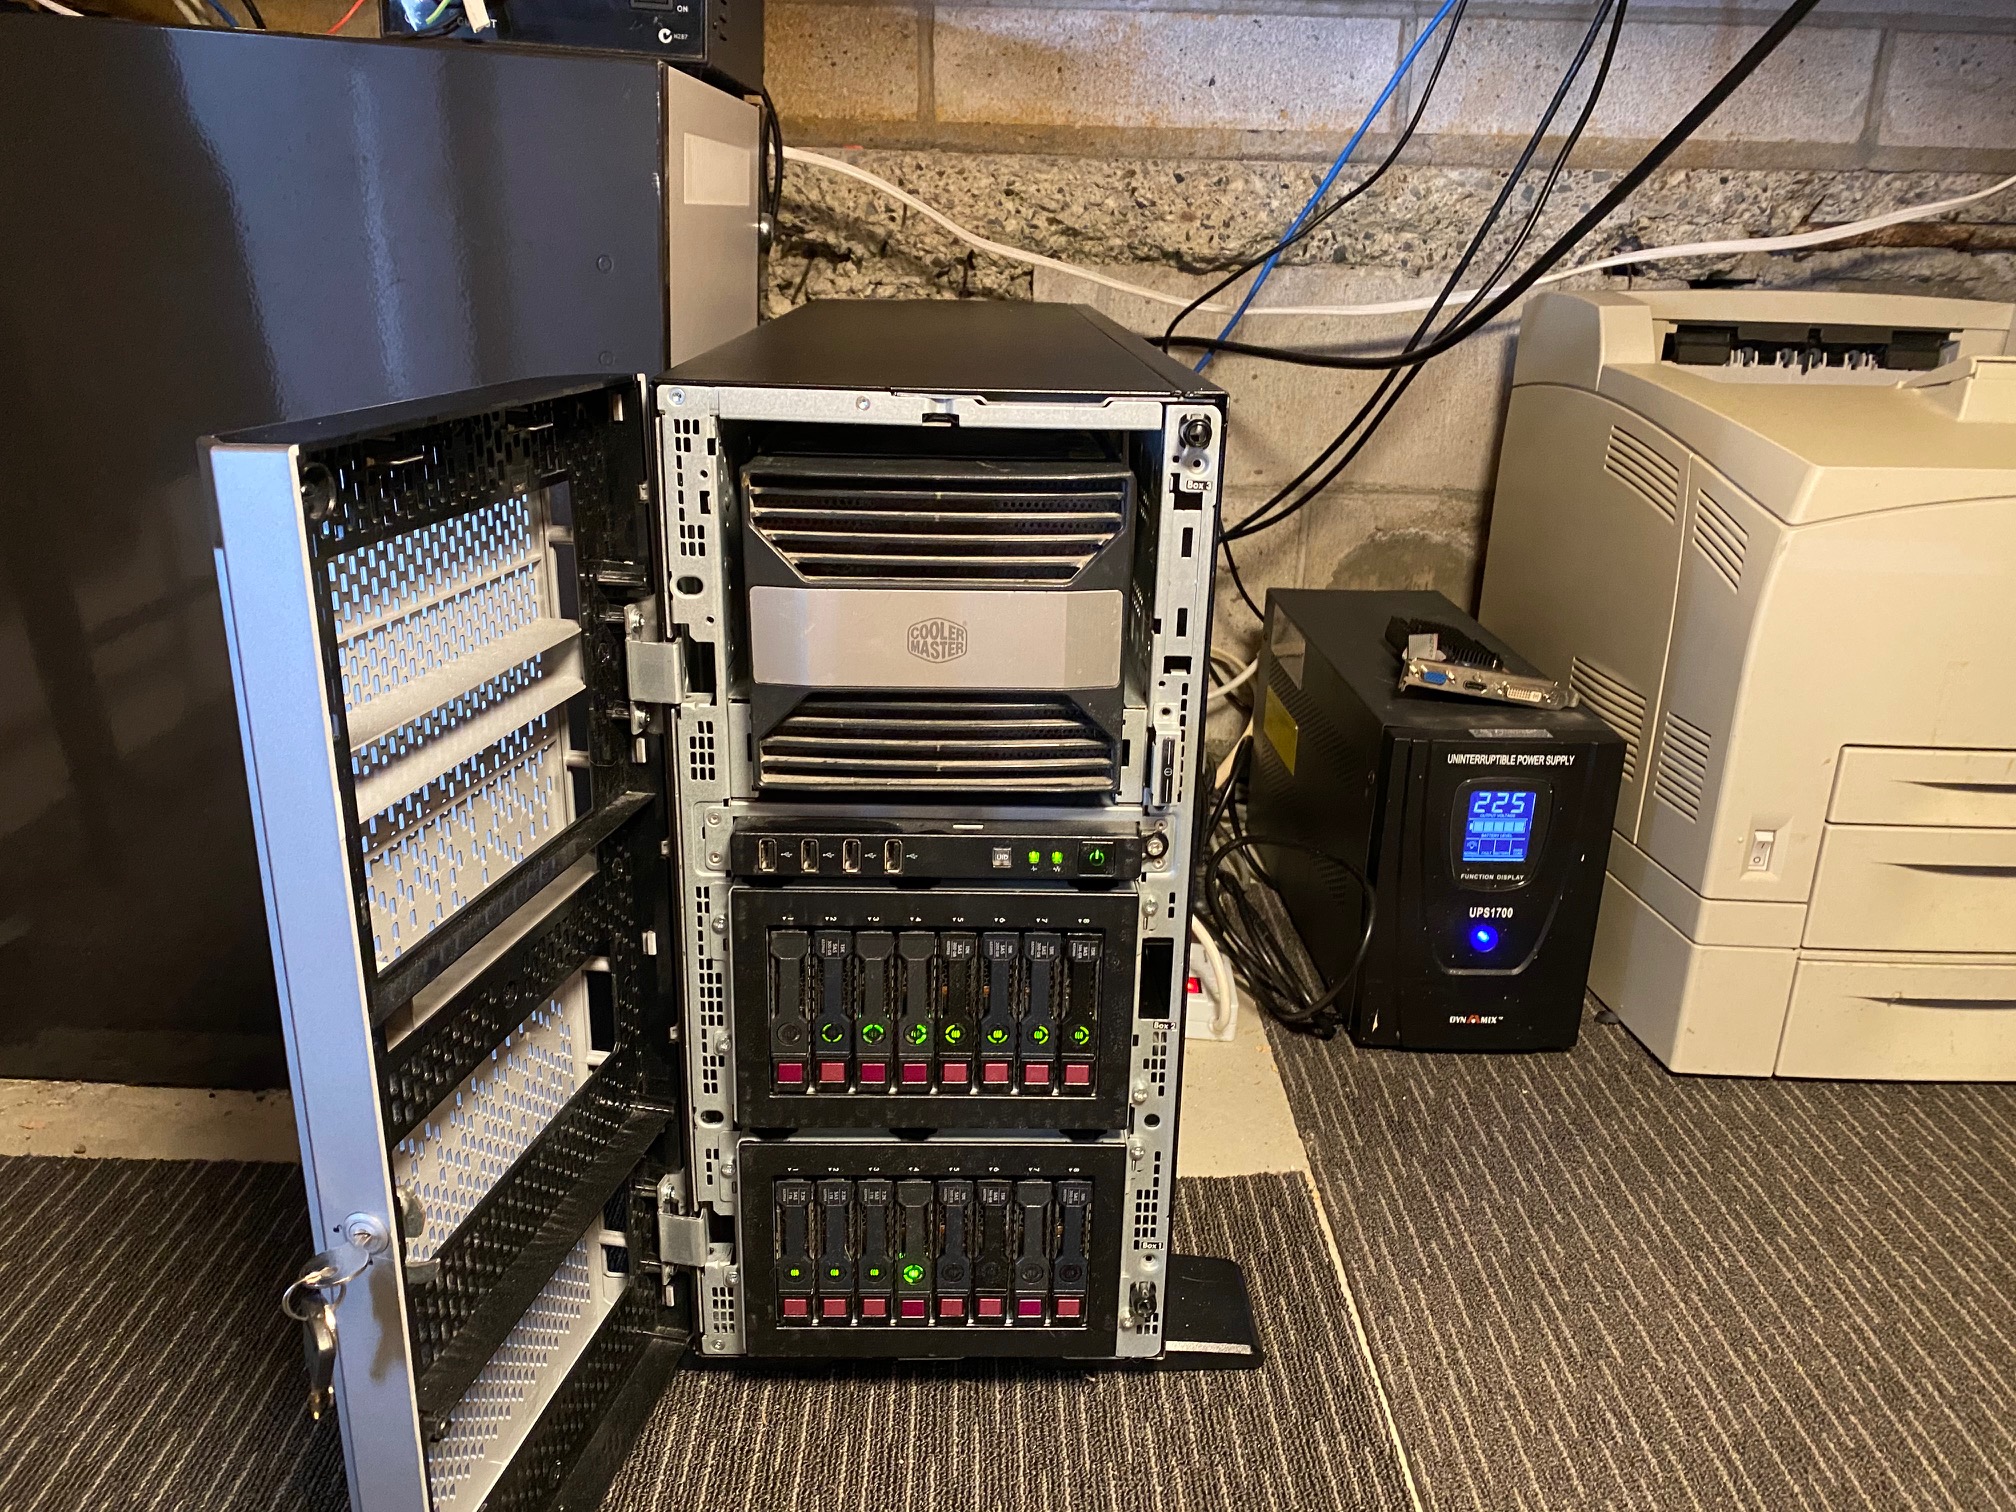
One of my previous computers had died from a power surge – one of the dangers of living in a rural area of NZ. So the use of a UPS is a prudent safeguard to help prevent future problems. I’ve had this UPS (uninterruptible power supply) for a little while, it is rated at 1700W which is sufficient for my needs.
I wanted to control the workstation from both in the observatory and from the control room. The distances were roughly 5m each way. DisplayPort cable max length is quite short – 3m to be exact, so that was no good. Instead I went for a combination of DVI-D (for the older monitor in the telescope area) and HDMI for the LG Monitor in the control room.
I used active USB3 (again max length 3m unless it’s powered – so using powered, I got 5m) and USB2 (5m max length) to the telescope room. I used 2 x USB 3 cables, one for the control room, and one running up the pier to the telescope to run the ZWO Cameras and focusers.
As you can imagine – I had cables everywhere! so I pinned them up to the beams above to make it a bit tidier.


It’s not super tidy, but it keeps them out of the way.
The 5m run to the control room was only just enough. I ran the cable though some capping to keep it tidy, and that worked quite well, although it was a bit fiddly doing it just by myself.


The monitor is running at 2560×1440 WQHD resolution. It’s a Samsung SD850 32″, and the one in the control room is a Dell 32″ 2560×1600 via DVI. Quite large monitors, but that’s how I roll.
So the one computer is driving both monitors, keyboards and mice quite nicely. I configured windows to run both monitors cloned so that the same desktop displayed on both of them. This did result in a bit of wasted resolution in the observatory monitor, which had slightly more resolution to play with, but it wasn’t going to work in extended mode, as it was too awkward getting the application windows showing on both. I did try a utility called Ultramon which claims to support mirrored desktops using different resolutions but found there was a large hit on performance, so I didn’t run with it.
Networking was easier with the workstation located centrally next to the network cabinet. I ran a couple of network cables up the pier, to control the telescope and a spare one.
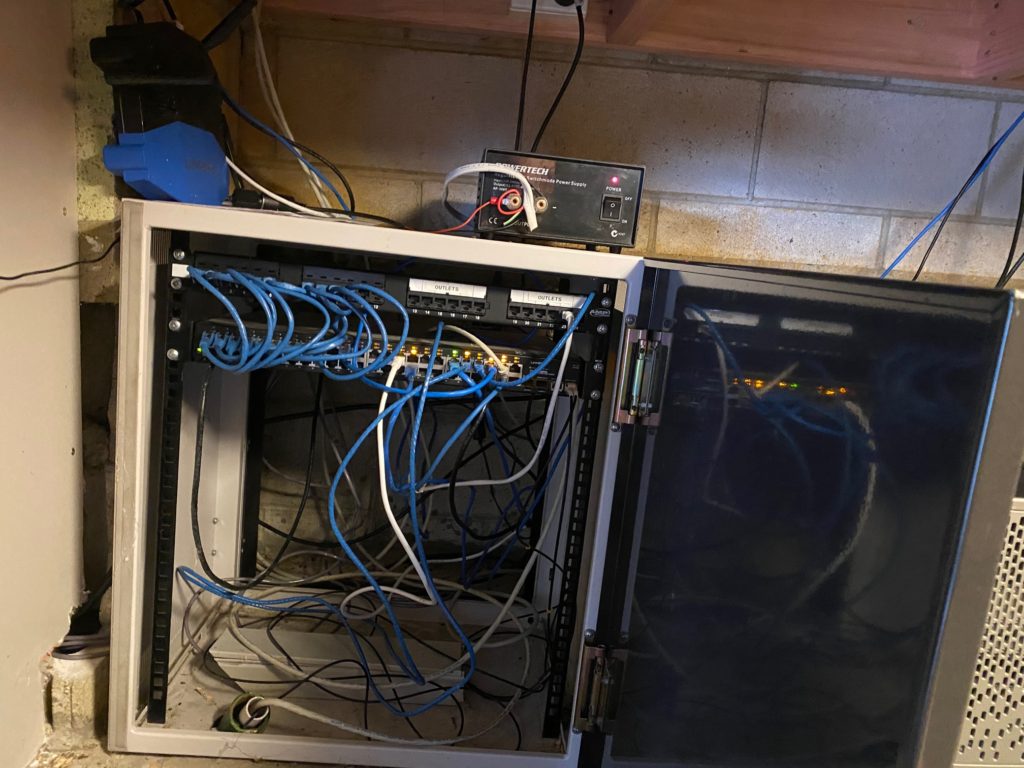
I am also running the 12v Power supply and network switch from the UPS. I figured why not… better to be safe than sorry.
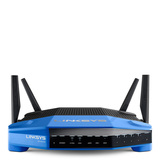
The Linksys WRT1900ACS router on the left is running DD-WRT – an open-source, Linux based alternative OS for routers – which is very secure.
So that’s the cabling and Kronos workstation installed with the 5m cables, surprisingly time-consuming getting all the cabling squared away nicely, but worth it. Much rather have a single computer running everything, simple is always better with stuff like this.
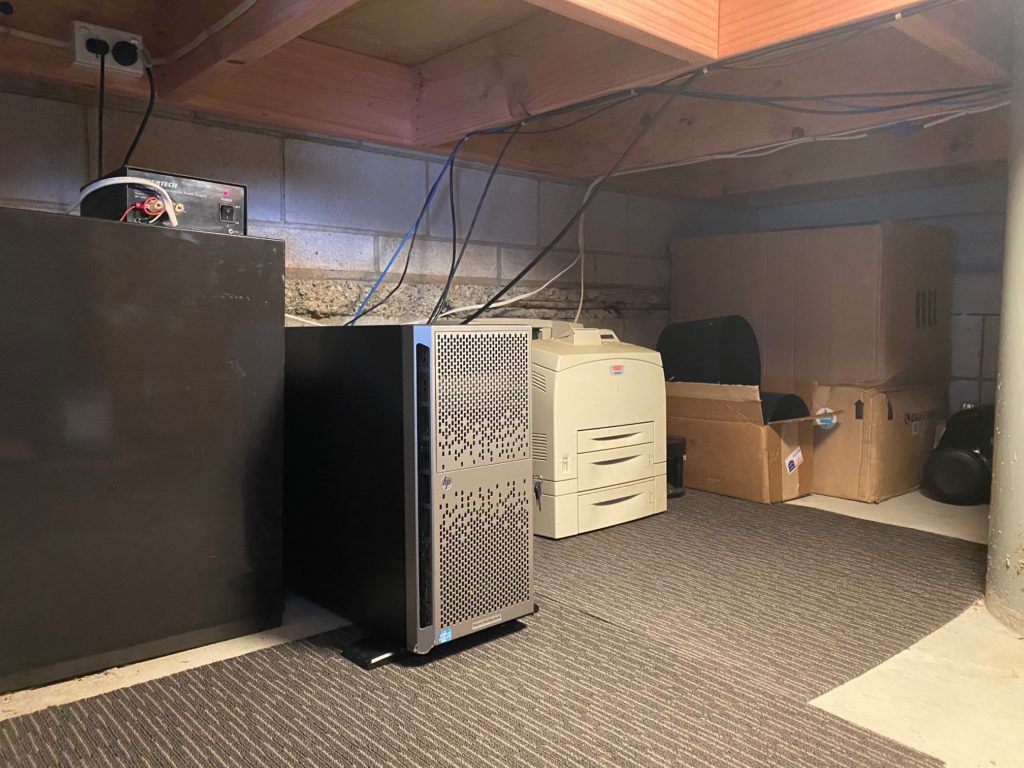
One big advantage of having the ‘Kronos’ workstation underneath the telescope area is that the noise from the fans is well away from both areas, and it’s actually very quiet, can hardly hear it in fact, so it won’t interfere with me playing music via Spotify in the control room! Nice. It’s also a cooler temperature under there, which is good as well.
Update: I’ve managed to find a great set of speakers to plug into the monitor on my desk. These are fantastic – check out these reviews, cost me $67 on Trademe! – I’m super happy with them.

Next up, software install.
Kirk out.